It's a lovely wet Sunday!
And everything is beautiful in the world! (Except for Ebola, but in a way I guess that could be a beautiful disaster?)
I think today I will give a tutorial on how to do this cute Hairstyle I wore for Halloween!
I was inspired by Ariana Grande, cringe I know but I like her okay?!
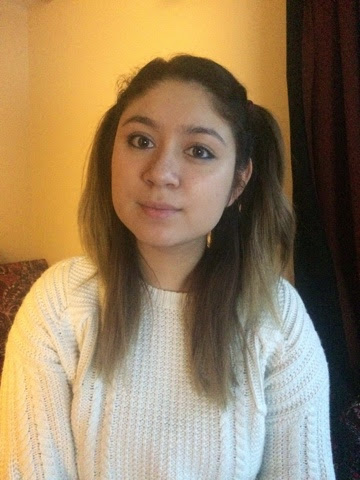
So this is the finished look:

Basically, as we all know Ariana Grande uses hair extensions and that's how her Buns are so thick, but if you have natural hair, you can still accomplish this look, just the buns will not be as big.
If you want bigger buns, go ahead and wear clip in extensions at the top and make sure you have a layer of hair to cover the extension line, or we'll all see through your act :P
Okay let's get this tutorial on the road!
1. First part your hair, do you wear a fringe? A side fringe? Middle parting. Then make a straight line from the hair beginning on the top of your forehead to just below the crown.

2. Separate with tight ponytails. When using hair bands you should refrain from using the bands with the metal clip in the middle as that can damage your hair more.
3. Grab one of the ponytails and part into two, and then twirl them together!
4. Then slowly wrap the twirled hair around te base of your hair band! You can have a looser or tighter bun depending on your preference, bigger buns use less pressure but the bun will be more liable to fall out
5. When you have the right sized bun, I use another hair band to secure into place followed by a crazyyy amount of hair pins (crocodile pins)

6. Now hairspray that mother...
7. Do the same with the remaining ponytail.
8. Then I like to pull out some of the tightness of the top of my buns but loosening the hair from the hair bands. I gently pull on my hair until I get a more comfy feel and a more loose look (so I don't look like an elf)


And that honey boo's is how you do this super KAWAII look!
No comments:
Post a Comment